
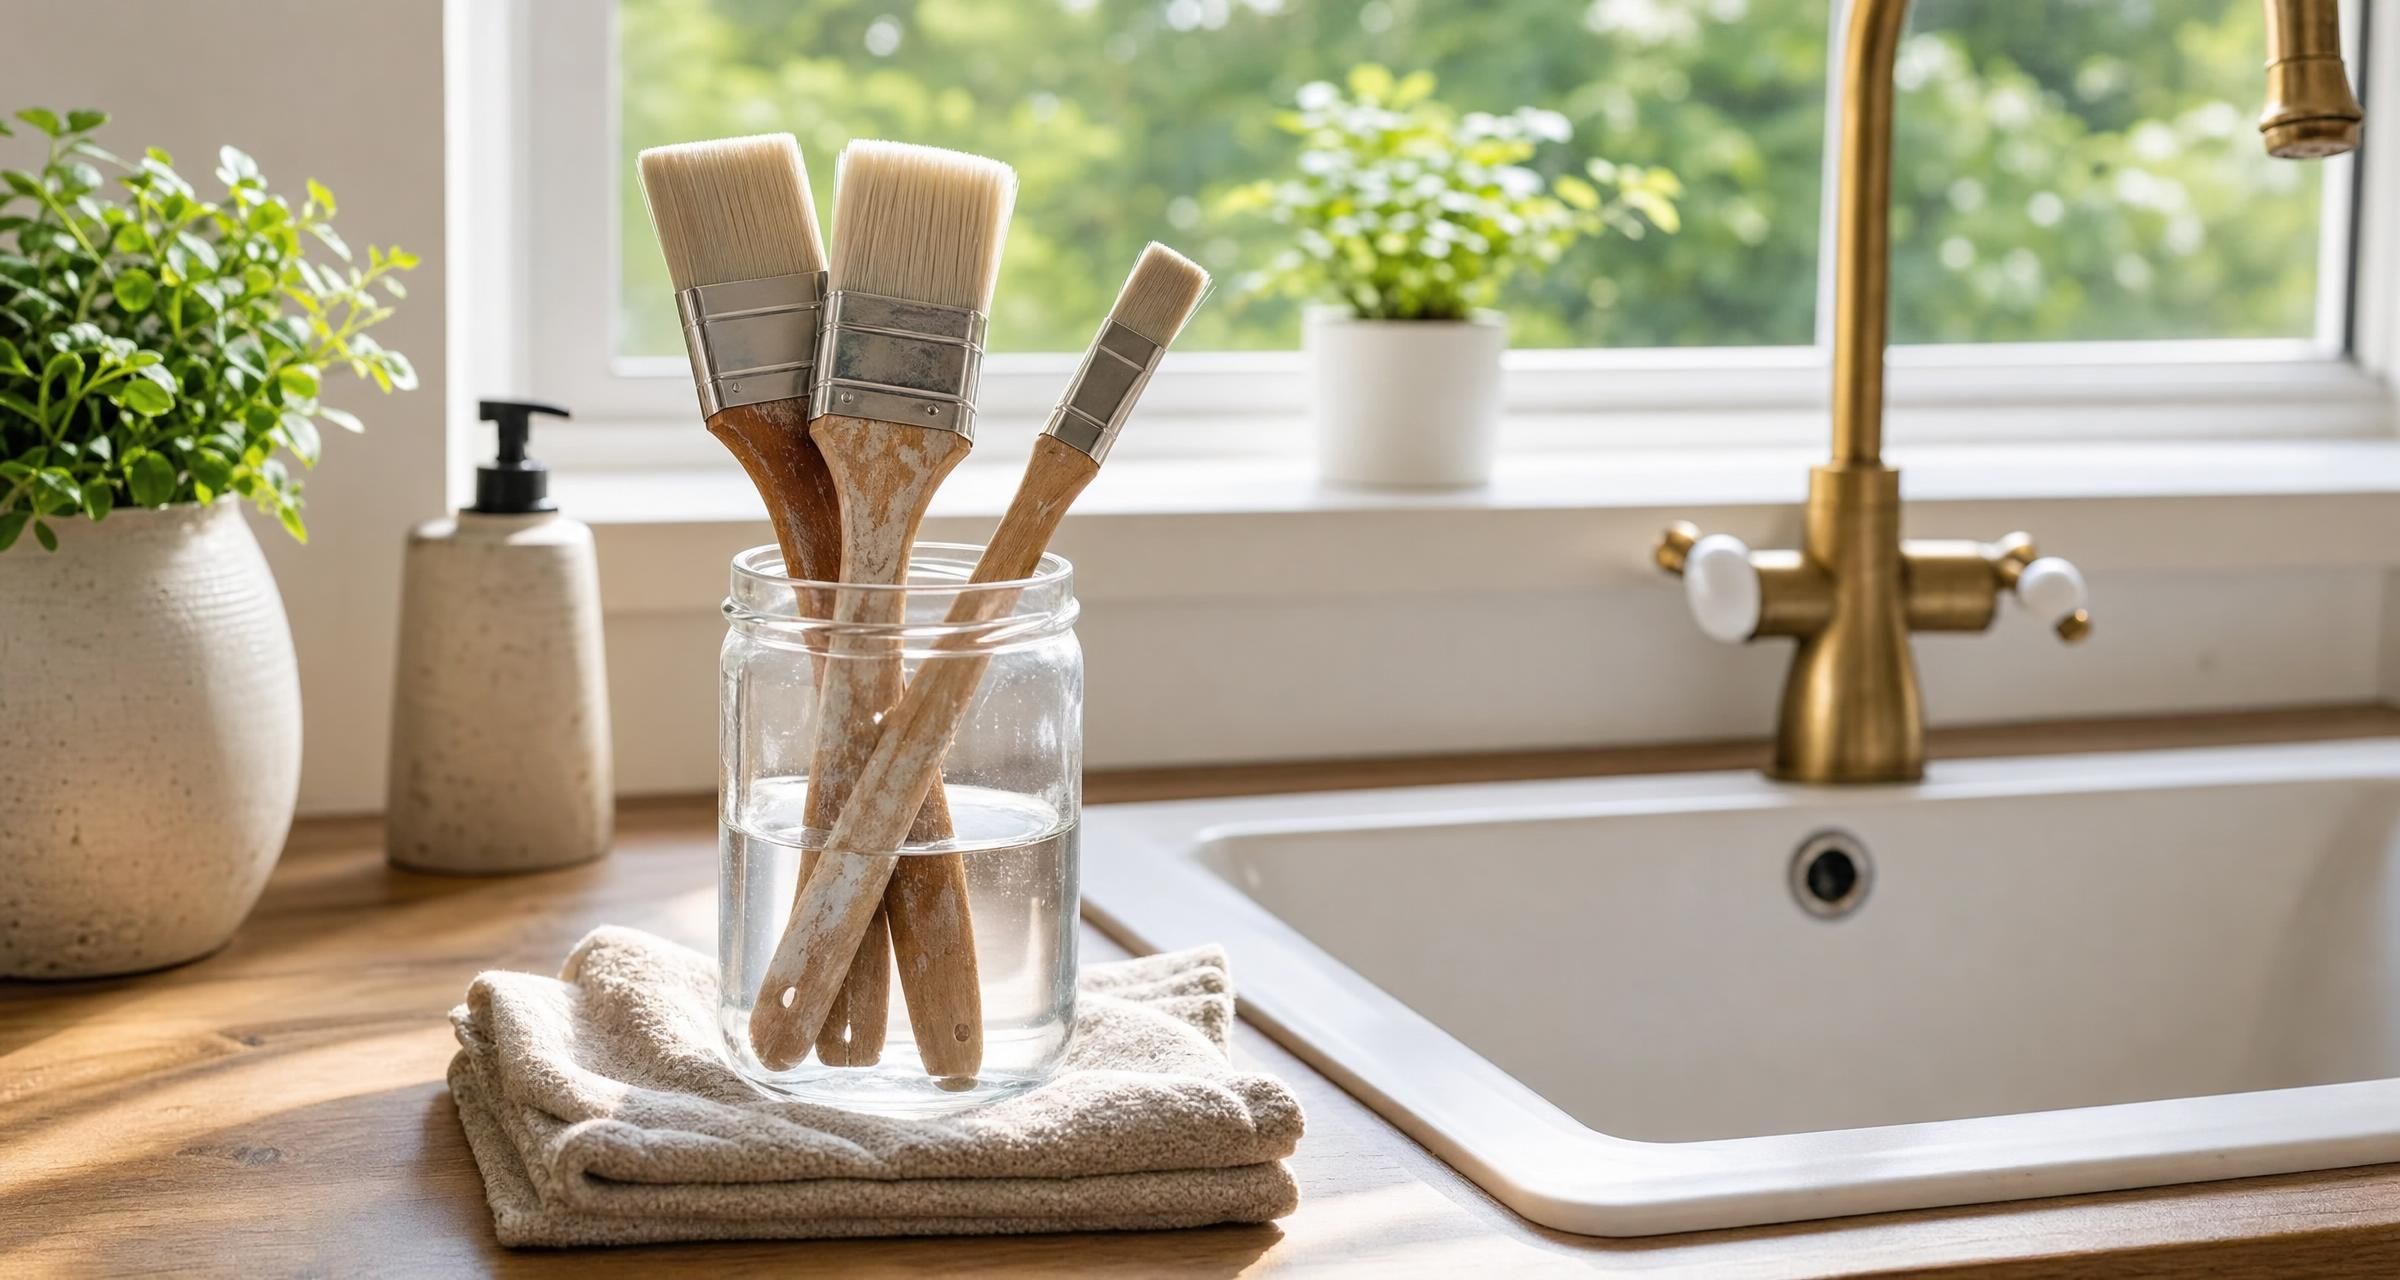
How To Clean Paint Brushes
Knowing how to clean paint brushes properly saves money, improves the finish of your next decorating job and stops good quality brushes becoming stiff after one use. A decent synthetic brush can cost £8 to £20, while professional Purdy, Hamilton or Wooster brushes often cost £15 to £35 or more. Clean them well and they can last for years. Leave paint to harden in the heel of the brush and even an expensive brush may be fit only for rough exterior work.
The correct cleaning method depends entirely on the paint or coating used. Water based emulsion, acrylic eggshell and water based gloss need water and detergent. Traditional oil based paints need white spirit or a suitable brush cleaner. Shellac based primers need methylated spirits. Using the wrong liquid can set the paint further into the bristles or damage the brush handle and ferrule.
Most brush cleaning problems start before cleaning even begins. Applying too much paint, allowing paint to dry in the brush during a break, or soaking brushes overnight are common causes of ruined bristles. A little discipline during the job makes the final clean far quicker.
Why Cleaning Paint Brushes Properly Matters
A paint brush is designed to hold paint in the body of the bristles and release it evenly onto the surface. The heel, which is the area where the bristles meet the metal ferrule, is particularly significant. If paint dries there, the bristles spread apart, lose their shape and stop cutting in cleanly.
A brush that has been poorly cleaned often leaves visible brush marks, sheds bristles, carries dried flakes into fresh paint and struggles to hold enough coating. This is especially noticeable on internal woodwork, doors, skirting boards and window frames, where a smooth finish is expected.
Good brush care also reduces waste. A homeowner decorating several rooms may use £40 to £80 worth of brushes, mini rollers and sleeves. Replacing brushes after every room is unnecessary and expensive. A decorator working regularly will generally clean brushes daily, reshape them and store them in a way that protects the bristle tips.
The right brush also needs to match the coating. Synthetic filaments are usually best for water based paints because they retain their shape and do not absorb much water. Natural bristle brushes remain useful for many oil based products, varnishes and stains, though modern synthetic blends perform well across a broad range of coatings. Before starting, check the tin and consider Choosing the Right Paint Finish for Different Surfaces, as different finishes can affect the tools and preparation required.
Identify the Paint Before You Clean the Brush
Never guess the paint type. Read the manufacturer’s label, as this will state the recommended thinner and cleaning method. Keep the tin until the job is finished, even if you have decanted paint into a kettle or tray.
| Paint or product type | Typical examples | Best brush cleaning method | Common mistake |
|---|---|---|---|
| Water based paint | Emulsion, acrylic satinwood, water based eggshell, water based gloss | Warm water, washing up liquid, thorough rinsing | Allowing paint to dry during a tea break |
| Oil based paint | Alkyd gloss, solvent based undercoat, traditional eggshell | White spirit, low odour brush cleaner or manufacturer approved solvent | Rinsing straight under the tap |
| Shellac based primer | Stain blocking and knotting primers | Methylated spirits or the cleaner specified on the tin | Using water or white spirit |
| Varnish or wood stain | Polyurethane varnish, exterior woodstain, decking oil | Follow the tin, often white spirit for solvent products | Leaving product in the ferrule overnight |
| Two part coating | Some floor paints, specialist epoxy products | Clean immediately using the product instructions | Waiting until the coating has started curing |
Older tins can be misleading. Many products that used to be solvent based are now water based, including several well known gloss and satinwood ranges. Conversely, “quick drying” does not automatically mean water based. The label is the authority.
Tools and Materials for Cleaning Paint Brushes
You do not need specialist equipment for routine cleaning, but a few inexpensive items make the work cleaner and more effective. Avoid washing paint brushes directly in a kitchen sink, particularly if the brush contains solvent paint, varnish or old paint residues.
| Item | Typical UK price | Use |
|---|---|---|
| Plastic paint kettle or cleaning pot | £1 to £5 | Holding water or solvent during cleaning |
| Brush comb or wire brush cleaner | £3 to £10 | Removing paint from the heel and separating bristles |
| Washing up liquid | £1 to £3 | Final wash for water based coatings |
| White spirit, 750ml to 2 litres | £4 to £12 | Cleaning oil based paint and varnish |
| Dedicated brush cleaner | £5 to £15 | Removing stubborn solvent based residues |
| Lint free cloths or old cotton rags | £2 to £8 | Wiping handles, ferrules and excess paint |
| Disposable gloves | £3 to £8 | Protecting skin from solvents and paint |
A brush spinner can be useful for decorators who clean several brushes each day. Expect to pay around £15 to £35. It removes water or solvent quickly and helps the brush dry faster, but it is not essential for occasional DIY work.
Do not use boiling water. It can soften adhesive inside the ferrule, distort synthetic bristles and cause wooden handles to swell or crack. Lukewarm water is sufficient for water based paint.
How To Clean Paint Brushes After Water Based Paint
Water based paint is easier to clean than traditional oil based paint, but it dries fast. Acrylic paint can begin to form a skin around the bristles within minutes in a warm room. Clean the brush as soon as you finish painting.
Step 1, Remove as much paint as possible
Scrape excess paint from both sides of the brush against the inside rim of the tin or paint kettle. Then wipe the brush on a piece of cardboard, scrap timber or newspaper. This reduces the amount of paint entering your cleaning water and speeds up rinsing.
Do not aggressively mash the bristles against the tin rim. This bends the tips and forces paint up into the ferrule.
Step 2, Rinse in a container first
Fill a plastic pot or bucket with lukewarm water. Work the brush through the water, pressing the bristles gently against the side of the container. Use your fingers, while wearing gloves if preferred, to open the bristles and release paint from the centre of the brush.
Change the water once it becomes heavily coloured. For a 2 inch brush used with emulsion, two or three changes of water are usually enough. A brush used for acrylic trim paint may take longer because these products are more adhesive.
Step 3, Wash with detergent
Put a small amount of washing up liquid in your palm or a clean pot. Work it through the bristles from ferrule to tip. The detergent helps release binders and pigment that plain water leaves behind.
A brush comb is useful at this stage. Comb from the ferrule towards the tips, never backwards. If you do not own one, use your fingers carefully. Pulling bristles out or forcing a screwdriver into the ferrule will damage the brush.
Step 4, Rinse until clear
Rinse under a gentle cold or lukewarm tap only after most paint has been removed in the container. Continue until the water runs clear and the brush no longer feels slippery or coloured. Check the inside bristles by spreading them apart.
For small quantities of water based paint, normal household wastewater is generally less problematic than solvents, but large amounts of paint should not be washed into drains. Let your first rinse water settle in a container. Once solids have settled, follow local authority advice for disposal and allow the paint sludge to dry before placing it in the appropriate household waste stream.
Step 5, Dry and reshape
Shake the brush outside or use a brush spinner. Wipe the handle and ferrule clean with a cloth. Reshape the bristles to their original profile, whether flat, angled or round, then lay the brush flat to dry.
Do not stand a wet brush on its bristle tips. The weight can permanently curl or splay them. Do not rest it upright on the handle while water is trapped in the ferrule either, as moisture can work into wooden handles and loosen the fixing.
How To Clean Paint Brushes Used With Oil Based Paint
Oil based gloss, eggshell, undercoat, varnish and many exterior wood finishes require a solvent. White spirit is the standard choice for most domestic decorating products, but the paint tin may specify a branded thinner or cleaner. Use the recommended product where stated.
Solvent vapours can be unpleasant and flammable. Work outdoors where practical, or in a well ventilated area away from naked flames, pilot lights, cigarettes, boilers and electrical sparks. Wear gloves and avoid prolonged skin contact.
Step 1, Wipe off surplus coating
Remove as much paint as possible on cardboard or rag before using any white spirit. This reduces the volume of solvent needed and makes disposal easier. For a brush that is heavily loaded with gloss, spend a minute working paint out on scrap material first.
Step 2, Use a first wash of white spirit
Pour a small amount of white spirit into a suitable metal or solvent resistant plastic container. Work the brush through the liquid, pushing the bristles gently against the side. Use a brush comb to clear paint from the heel.
The first wash will become dirty quickly. Do not pour it down a sink, toilet, surface water drain or outside gully. Solvent and paint residues can harm drains, waterways and septic systems.
Step 3, Repeat with clean solvent
Move the brush into a second container with clean white spirit. Continue until little colour comes from the bristles. A good quality brush used carefully may need only two washes. A brush used for thick oil based undercoat or gloss may need three.
For regular decorating work, allow the dirty solvent to stand in a sealed, labelled container. Paint solids settle to the bottom over several days. You can carefully pour the clearer solvent from the top into another labelled container for future first washes. Never use a food container, drink bottle or unlabelled jar.
Step 4, Finish with soap and water if suitable
Once the solvent has removed the paint, wash the brush with warm water and a little washing up liquid. This removes remaining solvent from the bristles and makes the brush more pleasant to handle next time. Rinse and reshape thoroughly.
Some decorators prefer a final rinse with clean white spirit rather than water for natural bristle brushes. Either approach can work, provided the brush is clean, reshaped and allowed to dry fully. Follow the brush manufacturer’s care advice if supplied.
Cleaning Brushes Used With Shellac Primer
Shellac based primers are excellent for blocking smoke staining, water marks, knots and strong odours, but they dry exceptionally quickly. Products of this type can set in a brush before you have cleaned your roller tray.
Use methylated spirits or the exact cleaning product specified by the manufacturer. White spirit will not properly dissolve shellac, and water will not work. Clean immediately, using two or more small washes rather than one large container of contaminated spirit.
Keep methylated spirits away from flames and ensure good ventilation. If the brush starts to stiffen during use, stop and clean it rather than trying to push through. Once shellac has hardened deep in the ferrule, recovery is uncertain.
How To Clean Paint Brushes That Have Dried Hard
A dried brush is not always beyond saving, especially if the paint is limited to the outer bristles. The chances of recovery depend on the coating, the length of time it has dried and whether paint has cured in the heel.
For dried water based paint, soak only the bristles in warm soapy water for one to two hours. Work the bristles with a brush comb and repeat. Avoid soaking a wooden handle or allowing water to cover the ferrule for long periods.
For dried oil based paint, a proprietary brush restorer may work better than white spirit. These products typically cost £6 to £15 for a small bottle. Place just the bristles in the cleaner for the time stated on the label, often from 30 minutes to several hours. Then comb, wipe and rinse as directed.
Do not leave brushes soaking overnight unless the product instructions specifically allow it. Long soaking can soften the adhesive, swell wooden plugs and make bristles shed. It can also strip coatings from the handle.
If the bristles remain rigid at the ferrule, the brush will rarely return to a finish suitable for gloss or fine cutting in. It may still be useful for masonry paint, fences, sheds or applying preservative. Be realistic. Spending £10 on restorer and an hour of labour to rescue a £4 brush is usually false economy.
Short Breaks During Painting
For a short break of up to an hour, do not wash the brush unless the product dries very quickly. Remove excess paint, wrap the bristle head tightly in a plastic bag or cling film, and keep it out of direct sunlight. Squeeze out as much air as possible. This slows drying and reduces waste.
For an overnight break, the safest approach is usually to clean the brush. Some decorators wrap brushes for the next morning, but this depends on the paint, room temperature and how tightly the brush is sealed. Water based trim paint can still start curing around the ferrule overnight.
Never leave a brush standing in paint or solvent with the bristles resting on the bottom of the tin. The bristles bend, the tips become misshapen and the ferrule can become clogged. A brush keeper that suspends the handle is a better option if you need to hold a brush temporarily in cleaner.
Safe Disposal of Paint Water, White Spirit and Rags
Paint cleaning is a small job, but the waste needs sensible handling. Solvent soaked rags can present a fire risk, especially where oils, varnishes or wood treatments are involved. Spread used rags out to dry outdoors in a safe area, away from buildings and ignition sources, before disposal, or keep them in a sealed metal container until they can be taken to an appropriate facility.
Do not pour white spirit, methylated spirits, brush cleaner or liquid paint into household drains. Take unwanted solvent, liquid paint and contaminated containers to a household waste recycling centre that accepts hazardous household chemicals. Check your council’s current acceptance rules before travelling, as services vary.
Older properties need additional care. Pre 1960 paint layers may contain lead, particularly on old joinery, radiators, metalwork and external woodwork. Sanding or dry scraping these surfaces can create hazardous dust. The Health and Safety Executive guidance on lead explains the risks and precautions. Wet cleaning methods, suitable respiratory protection and specialist advice may be needed where lead paint is suspected.
For occupational work, the principles of the Health and Safety Executive COSHH guidance apply. Tradespeople should assess exposure to solvents, dust and skin irritants, provide suitable controls and keep product safety data available. Homeowners may not have formal COSHH duties, but the same practical precautions make sense.
A Practical Paint Brush Cleaning Checklist
- Check the paint tin to confirm whether the coating is water based, oil based or shellac based.
- Remove excess paint on cardboard, scrap timber or a rag before adding water or solvent.
- Use separate containers for the first dirty wash and final clean wash.
- Use lukewarm water and detergent for water based paint.
- Use white spirit or the specified solvent for oil based paint and varnish.
- Use methylated spirits for shellac based primer where the label directs it.
- Comb bristles from ferrule to tip to remove hidden paint.
- Do not soak the brush with its bristles bent against the base of a container.
- Wipe the ferrule and handle clean before storing the brush.
- Reshape the bristles and dry the brush flat or hang it by the handle.
- Keep solvent waste out of drains and take it to an approved household waste recycling centre.
Common Mistakes to Avoid When Cleaning Paint Brushes
Using hot water
Hot water may seem effective, but it can damage the glue holding the bristles in place. It can also soften paint and drive it further into the heel rather than releasing it. Use lukewarm water for water based products.
Cleaning too late
This is the most expensive mistake. Water based paint can dry quickly, especially in centrally heated rooms or in summer. Shellac primer can dry in minutes. Clean tools before putting lids back on tins, washing trays or tidying the room.
Overloading the brush
Only dip the brush around one third of the bristle length into paint. Loading paint up to the ferrule makes cutting in messy and cleaning much harder. It also increases the risk of drips and runs on trim.
Leaving brushes submerged
Standing a brush on its tips in water or white spirit bends the bristles. Hanging the brush by the handle or laying it flat is better. Prolonged soaking can also loosen the ferrule and cause bristle loss.
Using one dirty pot of solvent repeatedly
A single pot of dark, contaminated white spirit only redistributes paint. Use one container for the initial wash and a second for the final wash. Let used solvent settle in a sealed container for reuse where appropriate.
Ignoring the brush type
Cheap brushes often have loosely set bristles and may not survive strong cleaners. Natural bristle brushes should not be left wet for long periods. Synthetic brushes tolerate water better but can still deform if stored badly. A good brush deserves careful treatment.
Brush Care for Better Decorating Results
Brush cleaning is part of paint preparation, not an afterthought. A clean, correctly shaped brush helps you apply a consistent coat and get sharper lines along ceilings, architraves and skirting boards. For detailed timber work, see How To Paint Skirting Boards, which covers the preparation and application needed for a neat finish.
Store clean, dry brushes in their original cardboard sleeve if you still have it. The sleeve protects the profile and helps the brush retain its shape. If the sleeve is gone, wrap the bristle head loosely in clean paper and store the brush flat in a dry cupboard. Do not store brushes in damp sheds where wooden handles can swell and ferrules can corrode.
Before using a stored brush, flick the bristles with your hand and inspect for dried fragments. A quick rinse in clean water for a water based brush, followed by thorough drying, can refresh it. For solvent work, ensure the brush is completely dry and free from moisture before loading oil based paint.
Preparation and tool care both influence the final result. If you are repainting a whole space, How To Paint A Room provides a useful order of work, from protecting the room through to finishing coats. Where stains, knots or difficult surfaces are involved, read Paint Primers Explained before choosing a primer and cleaner.
When It Makes Sense to Replace a Paint Brush
Replace a brush if the bristles are permanently splayed, heavily clogged at the heel, shedding continuously or leaving dried particles in the finish. For rough masonry or fence paint, a worn brush may still have a second life. For interior gloss, satinwood, varnish or precise cutting in, use a brush in good condition.
As a rough guide, a homeowner can assemble a reliable decorating kit with a 1 inch cutting in brush, a 1.5 inch sash brush and a 2 inch flat brush for around £20 to £45. Better quality professional brushes may cost £45 to £90 for a similar set, but they usually hold more paint, cut cleaner and repay the extra cost if cleaned properly.
If paintwork is badly peeling, stained, damp affected or requires repair before redecorating, cleaning brushes will not solve the underlying issue. A competent painter and decorator can assess preparation, identify suitable primers and complete the work efficiently. Typical day rates vary by region, but £180 to £300 per day is a realistic range for an experienced decorator, with London and some South East areas often higher. Always ask whether materials, preparation and waste disposal are included in the quote.
Frequently Asked Questions
Can I clean water based paint brushes in the sink?
You can use a sink for the final light rinse of a brush after removing most paint in a separate container. Do not wash a brush loaded with emulsion straight under the tap. Large amounts of paint can build up in traps and drains, and it is poor practice to send concentrated paint residues into the wastewater system. Use a bucket or paint pot first, then rinse sparingly once the brush is almost clean.
Can I use white spirit to clean water based paint brushes?
White spirit is not the right cleaner for water based emulsion, acrylic satinwood or water based gloss. It will not dissolve the paint effectively and leaves an oily residue that can affect the next coat. Use lukewarm water and washing up liquid. If paint has dried hard, use a water based brush restorer or follow the paint manufacturer’s cleaning guidance.
How long can I leave a brush wrapped in cling film?
For a short break of up to an hour, a tightly wrapped brush is generally fine. For overnight storage, results vary by product, temperature and how well the brush is sealed. Water based paints dry quickly and can harden around the ferrule overnight. Cleaning the brush at the end of the day is the more reliable approach, particularly with acrylic trim paints and shellac primers.
Should paint brushes be stored upright or flat?
Store brushes flat once they are clean and dry, or hang them by the handle if your storage system allows. Never store a brush upright on its bristles, as this bends the tips. Storing it upright on the handle is acceptable only once it is fully dry and the bristles are protected from dust and crushing.
Why is my paint brush still stiff after cleaning?
Stiffness usually means paint remains in the heel, around the ferrule, or the brush was cleaned with the wrong solvent. Use a brush comb to inspect the inner bristles. For water based paint, soak the bristles briefly in warm soapy water and comb through. For oil based paint, use a suitable brush restorer. If the heel remains solid after treatment, the brush is unlikely to perform well on fine work.
Final Thoughts
Clean brushes immediately, use the correct cleaner for the coating and avoid soaking or storing them on their bristle tips. Those three habits will keep brushes usable, reduce decorating waste and help produce cleaner lines and smoother paintwork.
If the job involves extensive preparation, damaged surfaces or a full room refresh, post a job on BookaBuilderUK to get free quotes from vetted local tradespeople.


